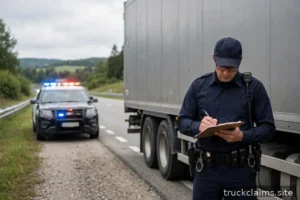
When an adjuster cannot visit the scene — and in the first days after an accident, they usually cannot — your photos and video become the claim. They establish what was damaged, how badly, and in what context. They corroborate your account of how the accident happened. And months later, when memories have faded and the truck has been repaired, they are the only remaining evidence of what the damage actually looked like. Yet most claimants photograph damage the way tourists photograph landmarks: a few close-ups, no context, no sequence, and no sense of what an adjuster actually needs to see.
This guide teaches the method professionals use: wide-then-close sequencing, consistent lighting and scale, video walkarounds that capture what stills miss, and the organizational habits that make your visual evidence usable. It also covers dashcam footage — increasingly the single most persuasive piece of evidence in a truck claim — and how to preserve it before it is overwritten. Do this right and your photos will do quiet, powerful work for your claim for months.
The core method: wide, then close
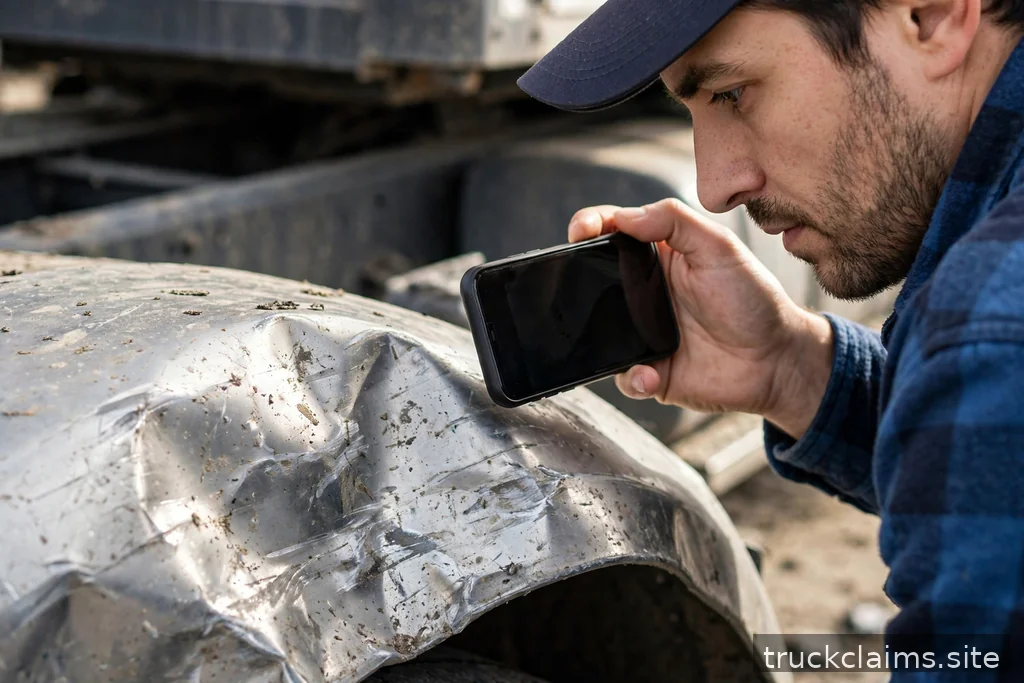
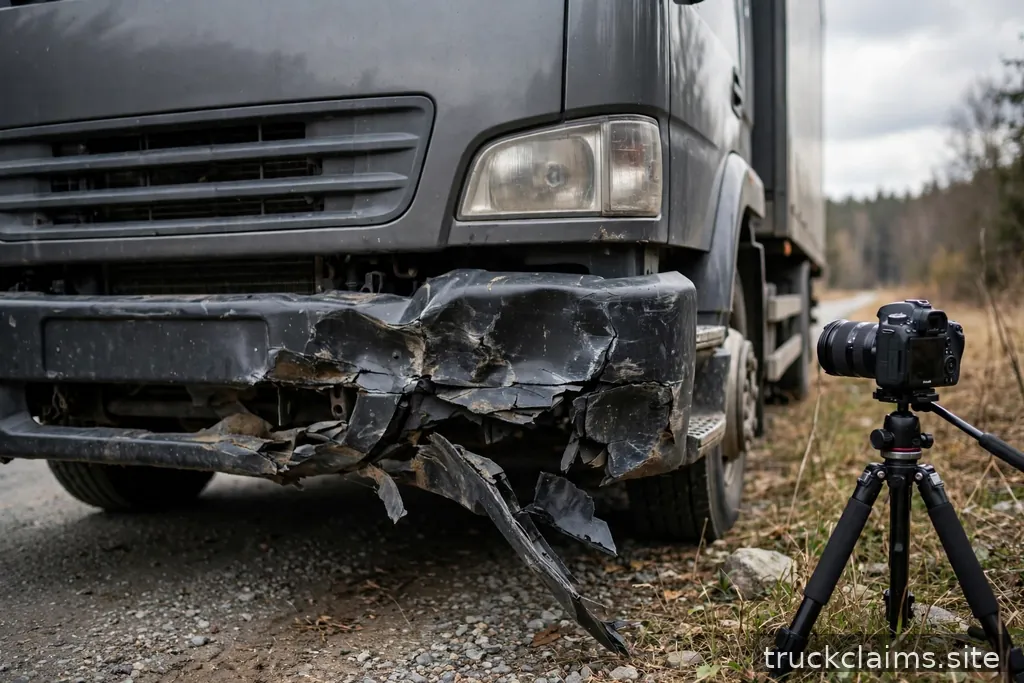
Every damage documentation session should follow the same sequence: establish context first, then drill into detail. Start with wide shots showing the entire vehicle from all four corners, far enough back to include the surroundings — the road, the other vehicle, the landscape. These establish the scene: where things were, what the conditions were, and the overall severity. Then move to medium shots of each damaged area, showing the damage in the context of the vehicle panel or component. Only then take close-ups of specific damage: cracks, dents, paint transfer, broken components.
This sequence matters because close-ups without context are nearly useless to an adjuster. A tight photo of a dented fender could be from any truck, any accident, any year — there is nothing tying it to your loss. But the same close-up preceded by a medium shot of the fender on your truck, preceded by a wide shot of your truck at the scene, forms an unbroken visual chain from the accident to the specific damage. Shoot in that order every time, and your photos tell a story instead of presenting a puzzle.
What to photograph: the complete shot list
Work through this list systematically. All four sides of the truck and trailer, wide. Every damaged area: medium then close. The other vehicle or vehicles, same treatment. The road surface: skid marks, gouges, debris fields, fluid spills. Traffic control devices: signs, signals, lane markings. Weather and lighting conditions: wet pavement, sun glare, fog. The cargo area if freight is involved: load condition, securement, any shifting. The interior of the cab if relevant: deployed airbags, broken glass, dash warning lights. License plates and DOT numbers of every vehicle — these identify the parties when paperwork gets confused later.
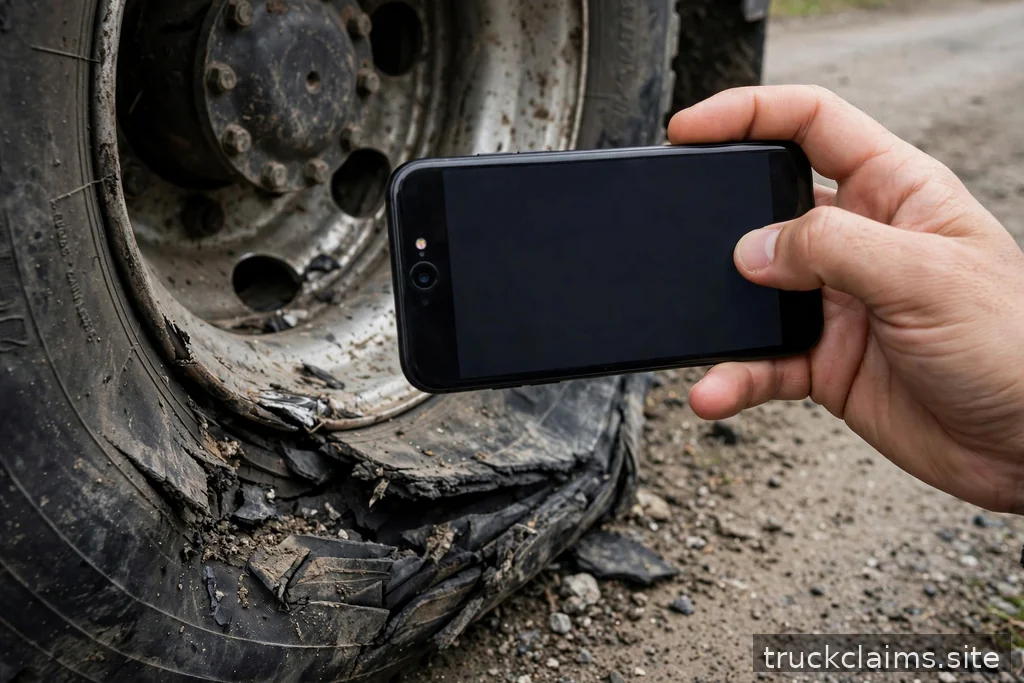
Then photograph the things people forget: the odometer reading (establishes mileage at the time of loss), the VIN plate, tire condition if a blowout is involved, and any pre-existing damage you want on the record as pre-existing. That last one surprises people, but it is strategic: documenting pre-existing damage yourself, clearly labeled as such, builds credibility and prevents the insurer from attributing old damage to this accident — or this accident’s damage to old wear. Honesty in documentation is not just ethical; it is tactically smart.
Lighting, scale, and technical basics
You do not need a professional camera — a modern phone is fine — but you do need to think about light and scale. Shoot with the light behind you, not behind the subject; backlit damage photos hide exactly the detail the adjuster needs. If the accident happened at night, use the phone’s flash deliberately rather than letting auto-mode guess, and consider returning at daylight for supplementary photos of the vehicle (the scene itself should be shot immediately regardless of light). Avoid heavy filters or HDR effects that distort colors — paint transfer evidence, for example, depends on accurate color.
Include scale references for significant damage: a pen, a coin, or your hand next to a crack or dent gives the viewer an instant sense of size that a close-up alone cannot. Keep your lens clean — a smudged lens at an accident scene is a classic, maddening failure. Shoot more than you think you need; storage is free and a missing angle cannot be recreated. And check your shots as you go: zoom in on a few to confirm they are sharp, because a hundred blurry photos are worth less than twenty sharp ones.
Video walkarounds: what stills miss
Supplement your photos with a slow video walkaround of the scene and each damaged vehicle. Video captures spatial relationships that stills cannot — how the vehicles sit relative to each other, the length of a skid mark, the full extent of a debris field — and it records your contemporaneous narration, which is valuable evidence in itself. Narrate as you walk: the date and time, the location, what you are showing, and what happened, sticking to observable facts.
Keep walkarounds slow and steady — fast panning produces unusable blur. Do one continuous take per subject if possible; edited-together clips invite questions about what was cut. Speak clearly and avoid speculating about fault on the recording. A two-minute narrated walkaround, shot calmly, is often the single most persuasive piece of evidence a claimant produces — adjusters watch them, supervisors watch them, and if the claim ever becomes a dispute, they speak for themselves in a way written descriptions cannot.
Dashcam footage: preserve it immediately
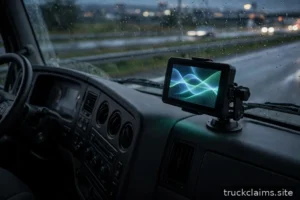
If your truck has a dashcam, its footage may be the most important evidence in your entire claim — an objective, timestamped record of the seconds before impact. But dashcam footage is also the most perishable: many systems overwrite old footage within days, some within hours of continuous driving. The moment the situation is safe, preserve the footage: stop the recording if the system allows it, note the time and date of the incident segment, and create a backup copy on a separate device the same day.
Do not edit, trim, or annotate the original file — preserve it exactly as recorded, and work from copies. Note the camera’s make and model and whether the timestamp was accurate; a wrong camera clock is common and worth documenting honestly rather than discovering later. If the footage helps your case, provide it to your adjuster proactively; if it is ambiguous or unhelpful, you are generally not obligated to volunteer it to the adverse party, but do not destroy it — spoliation of evidence creates far worse problems than any footage could. Our 2026 guide to dashcams and telematics in claims covers how this footage is being used across the industry right now.
Organizing and delivering visual evidence
A hundred well-shot photos are useless if the adjuster cannot tell what they are looking at. Organize before you send: create folders by subject (scene, unit 1 damage, unit 2 damage, cargo, documents), rename files descriptively with dates, and include a simple index — even a one-page list describing each batch. Send photos at reasonable resolution: full phone resolution is fine, but do not compress them into tiny thumbnails to save email size. If the batch is large, use a file-sharing link rather than twenty separate emails.
Keep your originals, always. Send copies; retain the originals with their metadata intact — the EXIF data in your photos (timestamps, GPS coordinates) is itself evidence, and stripped-down copies lose it. Back everything up in two places: a cloud service and a physical drive. Claims can stay open for a year or more, phones get replaced, and the claimant who can still produce the original scene photos in month nine is in a far stronger position than the one who lost them in month two.
Photo mistakes that hurt claims
The most common failures: shooting only close-ups with no context, which leaves damage untethered to the accident. Waiting until the next day to photograph the scene, by which time it has been cleared. Photographing only your own vehicle and not the other party’s, the road, or the surroundings. Using flash that washes out detail or shooting into the sun. And the quiet killer: taking photos but never sending them to the adjuster, assuming they will be “used later” — evidence not in the file might as well not exist.
Another subtle mistake is photographing damage selectively — only the worst areas, skipping minor ones. Document everything, including damage you think is unrelated; the adjuster decides what is related, and undisclosed damage discovered later looks like concealment even when it was just oversight. Thorough, neutral, complete documentation is the posture that builds the most credibility with the people deciding your claim. For how these photos fit into the larger evidence file, see our documentation checklist and our guide to preparing for the adjuster’s inspection.
Frequently asked questions
How many photos should I take after a truck accident?
More than feels necessary — typically fifty to a hundred for a significant accident. The cost of extra photos is zero; the cost of a missing angle is unknowable until the adjuster asks for it months later. Shoot systematically using the shot list above and you will naturally land in the right range.
Can the insurer use my photos against me?
Your own insurer uses your photos to evaluate your claim, which is what you want. Be truthful and complete — selective photography that hides relevant facts damages your credibility far more than any honest photo could damage your claim. Photograph everything and let the evidence speak.
What if I could not take photos at the scene?
Photograph the vehicles as soon as possible wherever they are now — the tow yard, the shop — and supplement with dashcam footage, witness photos, police scene photos (requestable from the agency), and traffic or surveillance camera footage if available nearby. Late photos of the vehicles are far better than no photos.
Should I share dashcam footage on social media?
No. Keep claim evidence out of public channels entirely. Social media posts can be discovered, taken out of context, and used to dispute your account. Preserve the footage, share it with your insurer through proper channels, and discuss it with no one else.
Good damage documentation is a skill, not a talent: wide-then-close, complete shot list, attention to light and scale, video walkarounds, immediate dashcam preservation, and organized delivery. Master this once and every claim you ever file — and every incident you ever witness — will be better documented than ninety percent of the files adjusters see. In a process where evidence is leverage, that is an advantage worth having.